Setting Up Your Officer
Setting up your officer on the CAD System is a crucial step in the process of joining the Law Enforcement team. This guide will walk you through the steps you need to take to set up your officer on the CAD System.
Note: This guide assumes that you have already been accepted into the KCDOJRP LEO program. If you have not been accepted as an Law Enforcement Officer, feel free to check out the Application Form to see if you qualify.
Check out the Video Guide!
This is an awesome video that shows you how you can set up your officer on the CAD System! You will need to have this set up before we can proceed with your LEO Exam!
❤️ Thank You!
Massive thanks to Ace for creating this video and allowing us to use it in the documentation!
✍️ Written Guide
Don't want to watch the video, or simply prefer to have a written guide? Here's a quick summary of the steps you need to take to set up your officer on the CAD System!
Create a Citizen
The first thing you need to do is either create a new citizen or find an existing one that you can use.
If you're creating a new citizen, you can use the Create Citizen guide to do so!
When creating a new citizen (or using an existing one), your citizen must meet the following requirements:
- be over the age of 18,
- not have a criminal history and,
- have a valid driver's license.
Citizen - Create a New Citizen
You can view the Create Citizen guide to learn how to create a new citizen! Make sure to follow all the steps listed, and once you get to the end - don't create the citizen yet! Come back to this guide and continue from here.
You should now see a button that says Create with Officer next to the button to Create at the end of your citizen creation process. You want to select that instead!
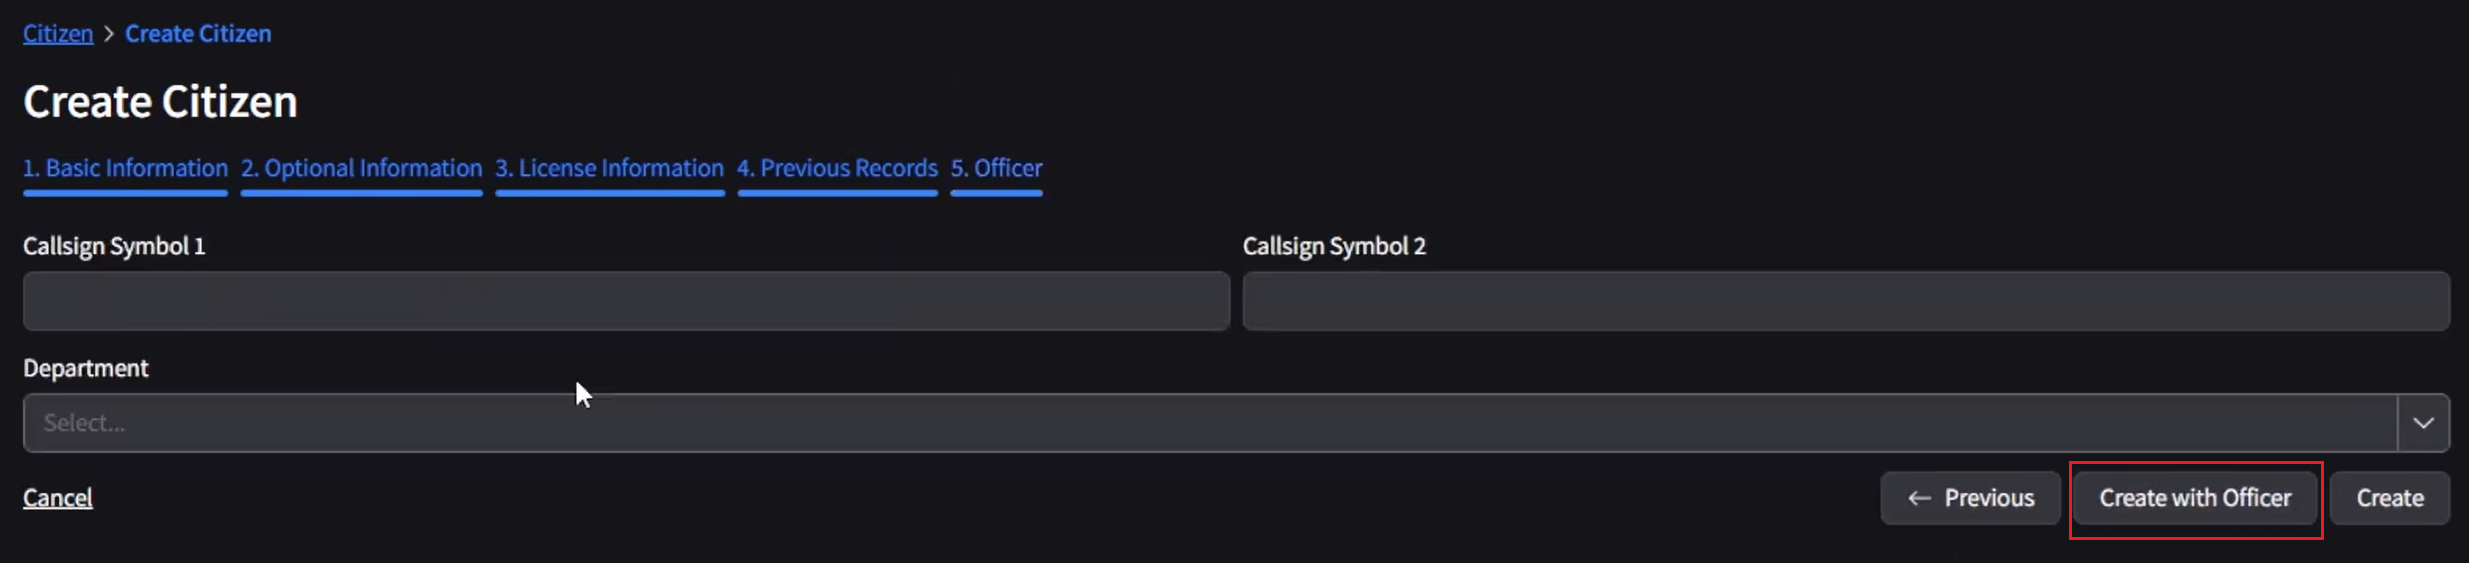
Callsign field!For Example: If your call-sign is
1C-01, you'd input 1C in field 1, and 01 in field 2.Create an Officer
If while creating your citizen, you did not select Create with Officer, or, if you're using an existing citizen. You'll need to follow this guide!
If you already used the Create with Officer button, you can skip this step!
Citizen - Make your Citizen an Officer
The first thing you want to do is open up and log into the CAD System.
Don't know how to log in? Check out the Guide on using the CAD!*
Once you're logged in, you'll want to hit Officers > My Officers, and then Create Officer. I've included a screenshot below to show you what you should see.

Officer tab, try to log out of the CAD System and log back in! If that doesn't work, contact your supervisor!Proceed to fill out the form on your screen, and make sure to select the correct citizen! Here's a screenshot of what you should see when you've filled out the form.
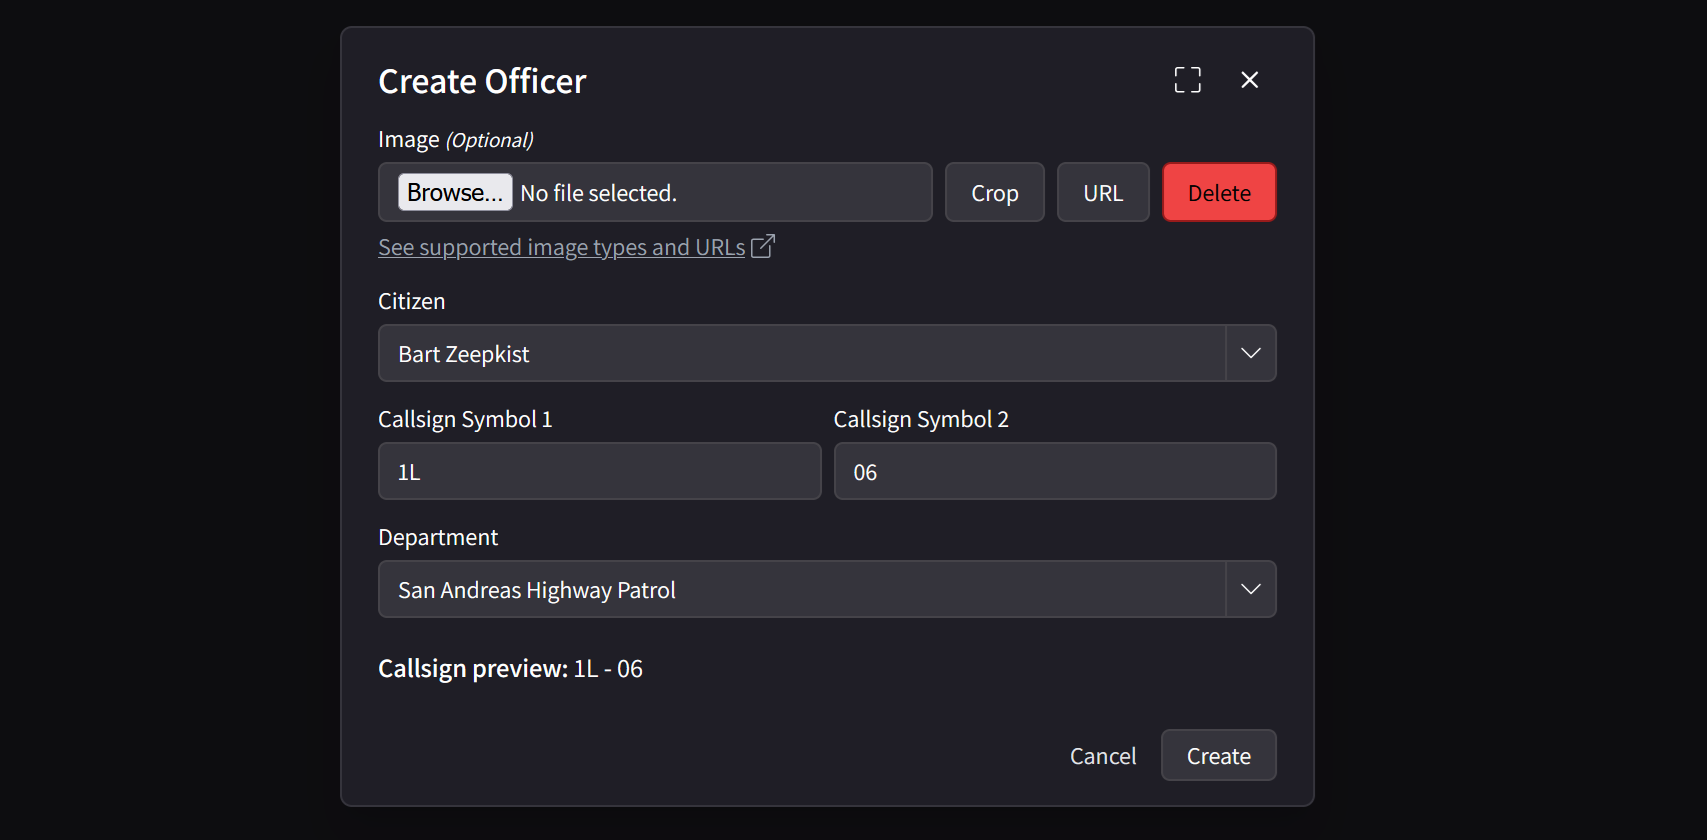
Callsign field!For Example: If your call-sign is
1C-01, you'd input 1C in field 1, and 01 in field 2.Once you've filled out the form, hit Create and a request will be sent to your supervisor to approve your request.
You're Done!
Your supervisor will now be able to see your new officer on the CAD System, and you should be notified as soon as your request has been approved on our side!
We highly recommend you to review all of the Learning Materials before you start your training session!
Here's some quick links to get you started:
- Department structure - Goes over the different roles & responsibilities of each department.
- Phonetic alphabet - A guide to the different letters & sounds used in the department.
- 10-codes explained - A guide to the different 10-codes used in the department.
- David codes explained - A guide to the different david-codes used in the department.
- Standard operating procedures - A guide to the different standard operating procedures used in the department.
- First shift & expectations - Goes over the expectations for how to behave & what to expect from the department.
- Your Final Exam - Get an early peak at what you'll be doing during your training!